The keychain lock construction is based on a video by Joe Pi. It looks like a padlock, but is opened by unscrewing a nut. Not the best security. I plan to decorate it and give it to Rhea for Valentine's day.
A 1" length of 1/4" X 1" brass was cut from scrap stock. The two cut ends were squared up on the mill using the vise and the cylindrical parallel. One end was drilled with a 5/32" drill. The first hole was centered across the 1/4" width and located 3/16" from one end. The second hole was 5/8" from the first. The first was drilled 3/16" deep and the second was drilled 7/8" deep. Both holes were chamfered. The side with the deeper hole was marked for later milling.
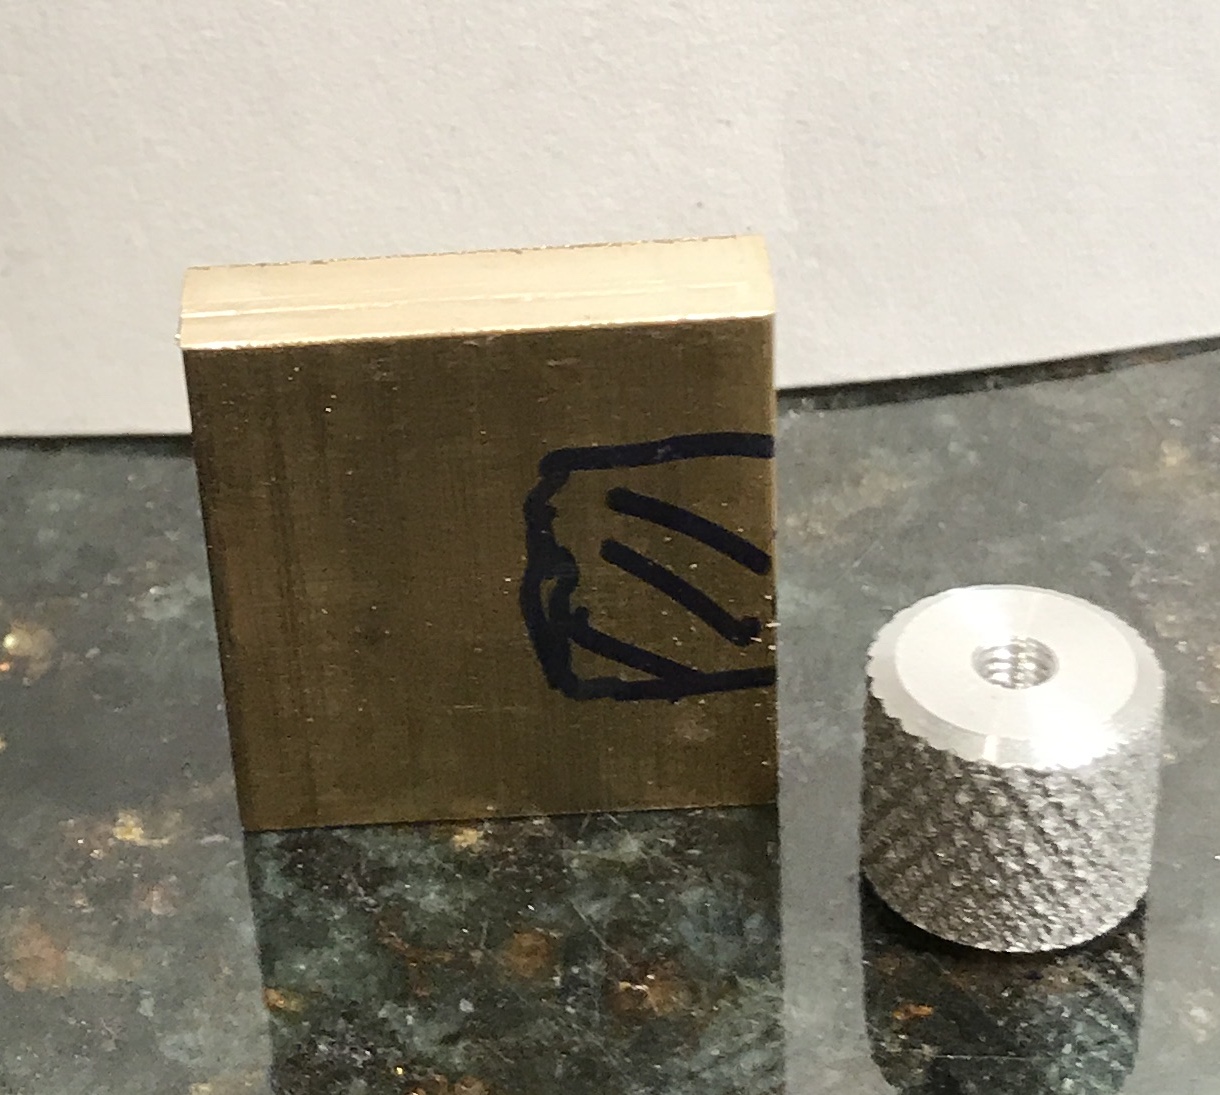
The second part of this lock was a nut. A 1" length of 1/2" aluminum rod was held in the three jaw chuck. It was faced and then knurled for about 3/8". The faced end was chamfered. A hole was drilled about 3/4" deep with a #38 drill and tapped 5-44. The nut was parted off at the end of the knurl. The parted end was also chamfered. The photo below shows both parts at this stage.
The pocket was cut with a 5/16" end mill. First the pocket was cut down the middle and then the end mill was moved 3/32" to one side and the pocket was widened by again cutting down. This was repeated 3/32" to the other side. The nut fit nicely in the pocket.

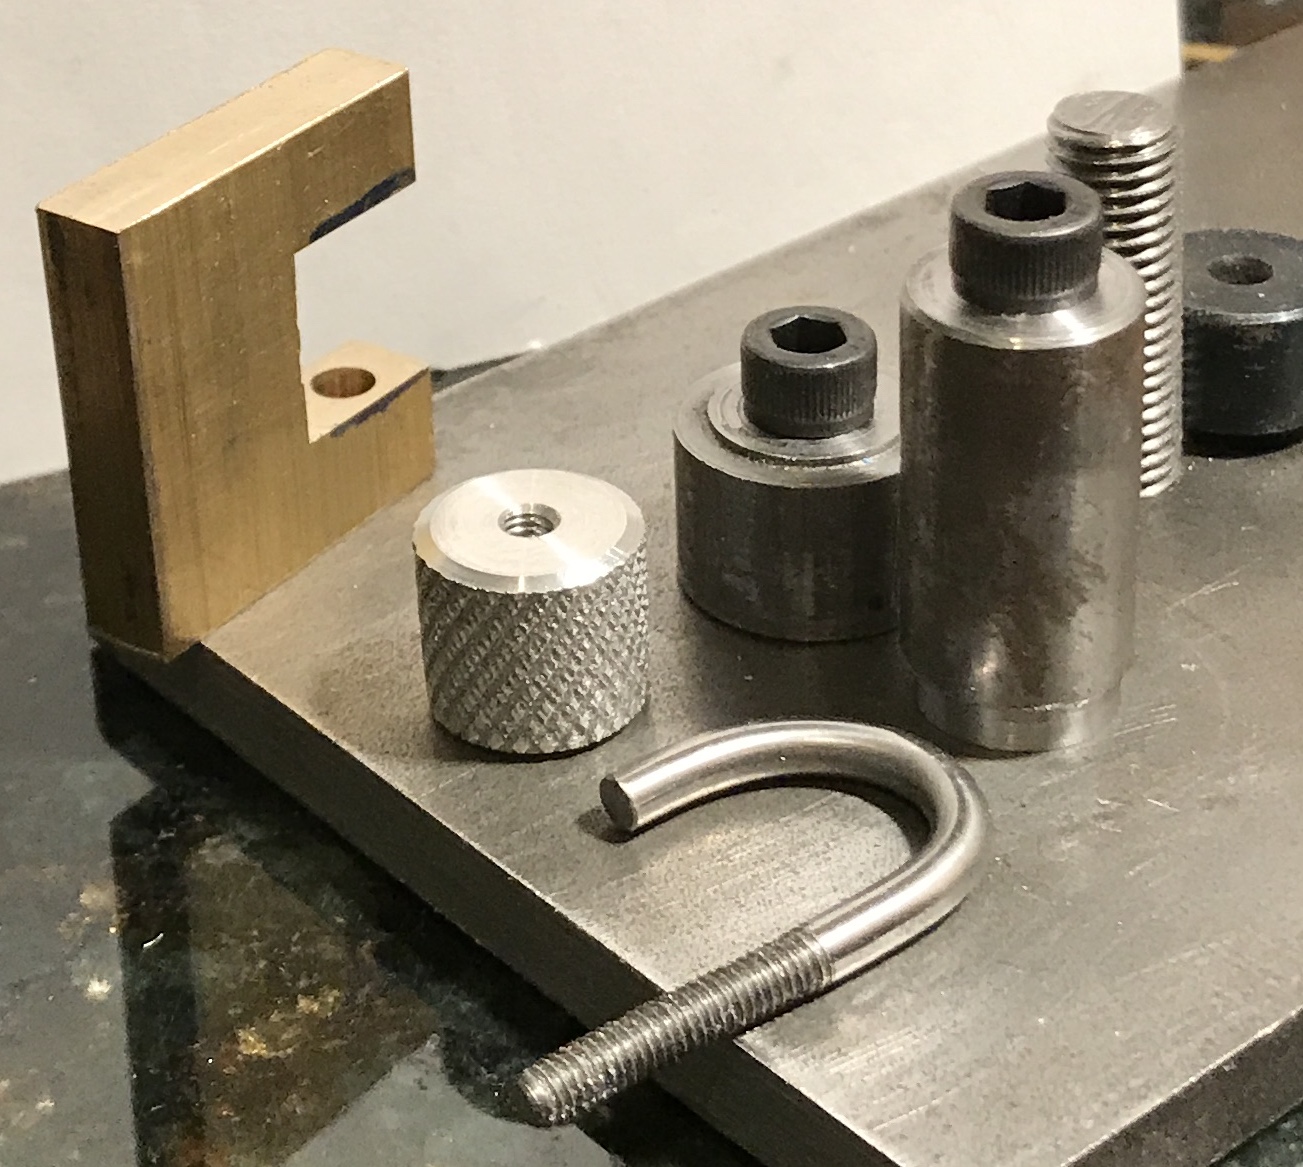
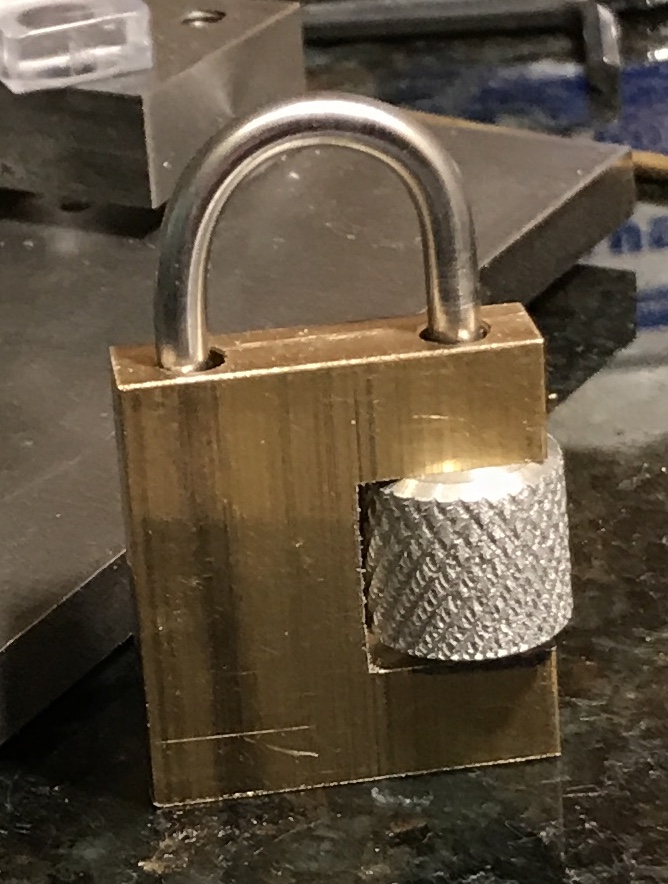
A 4" length of 1/8" drill rod was cut. One end was threaded 5-44 in the lathe with a die. A bending die was modified to fit this project. A 5/8" diameter die was made from scrap as well as a cylinder with a slight undercut (1/32") to trap the rod. The rod was bent. The length of the free end was estimated and cut off. This end was cleaned up. The lock parts are seen in the first photo below next to the bending jig. The assembled lock is shown in the second photo. I am not happy with the bent rod and will make a second and improved copy.
Modified the bending jig slightly to improve the second attempt. This seems to be a trial and error process. A second 4" of 1/8" drill rod was cut off and one end faced and threaded for 7/8". The rod was bent in a semicircle. In order to bend the full 180° vise grips were used as a stop. The bent rod needed a multiple adjustments after the initial bending to look decent. The photo below shows the final result.
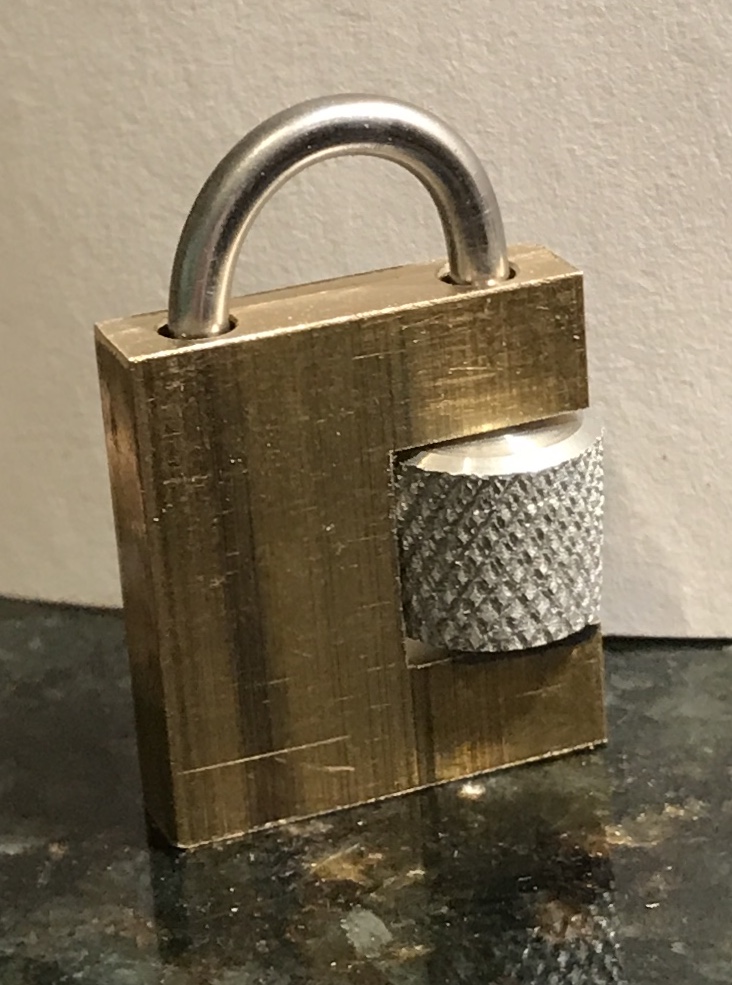
The body of the lock was first sanded to round the edges on the belt sander. The body was next sanded by hand with 180, 320, 600, 1000, & 2000 grit paper. This left a nice matte finish. After washing with isopropanol and drying the first coat of varnish was applied. A second coat was applied about 40 minutes later. The knurl was cleaned up with a brush tool in the Dremel. It does not look much better. A second knurl with a freely turning lower wheel did not look any better either. The steel rod was polished. The lock at this stage is shown below.

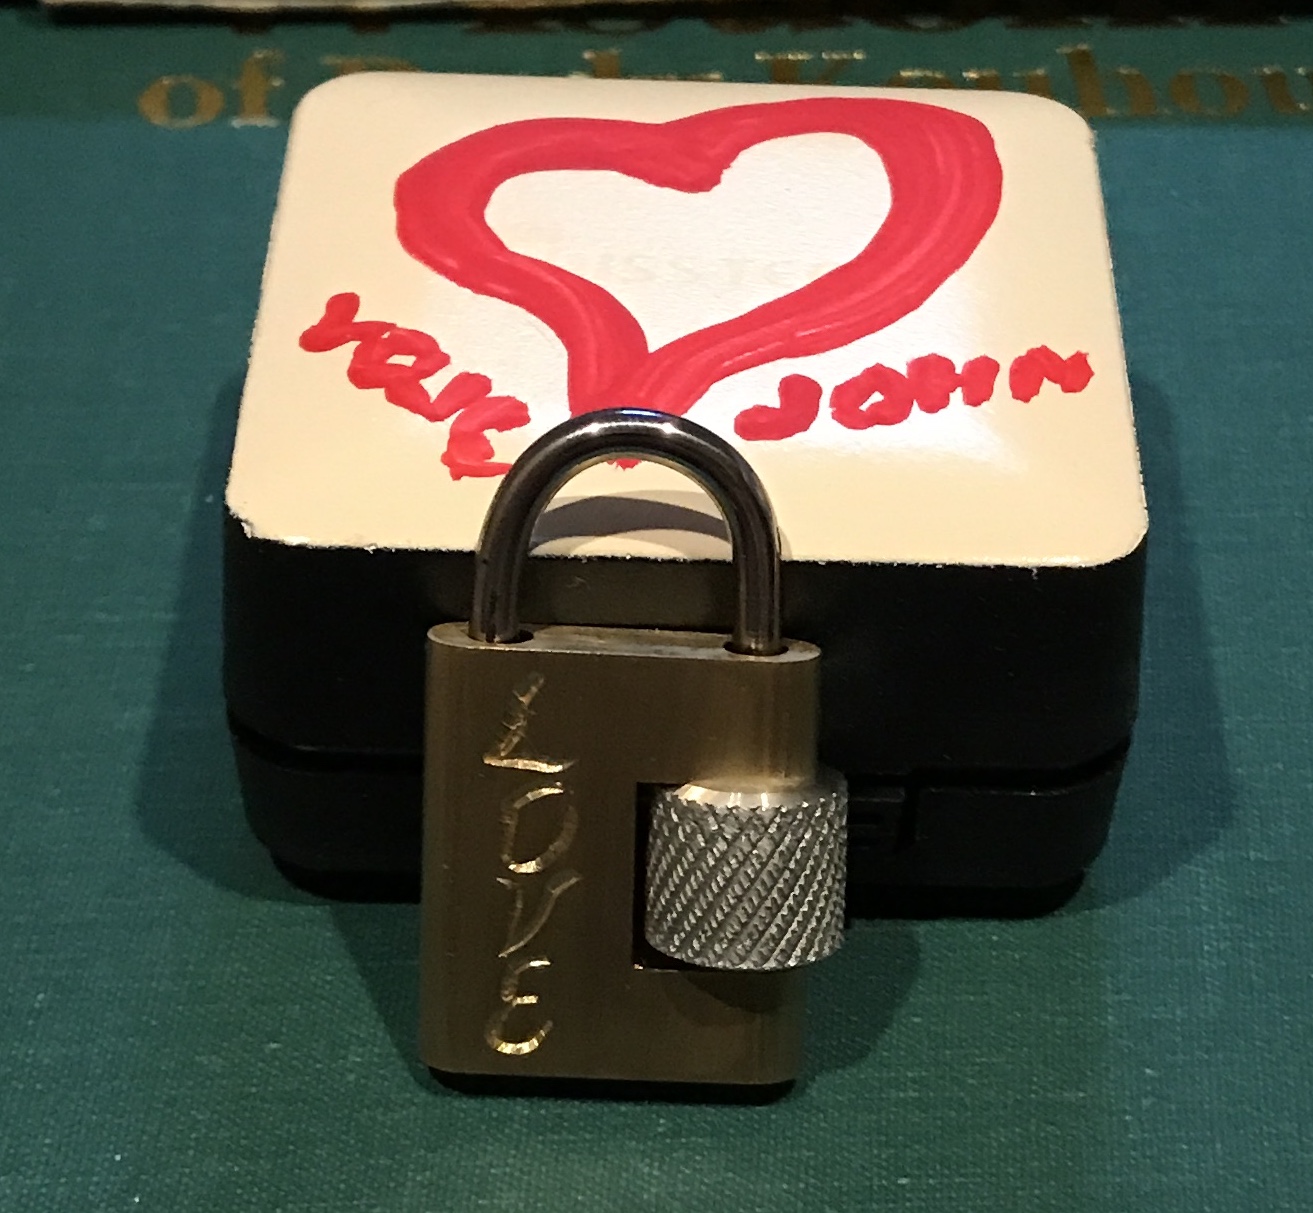
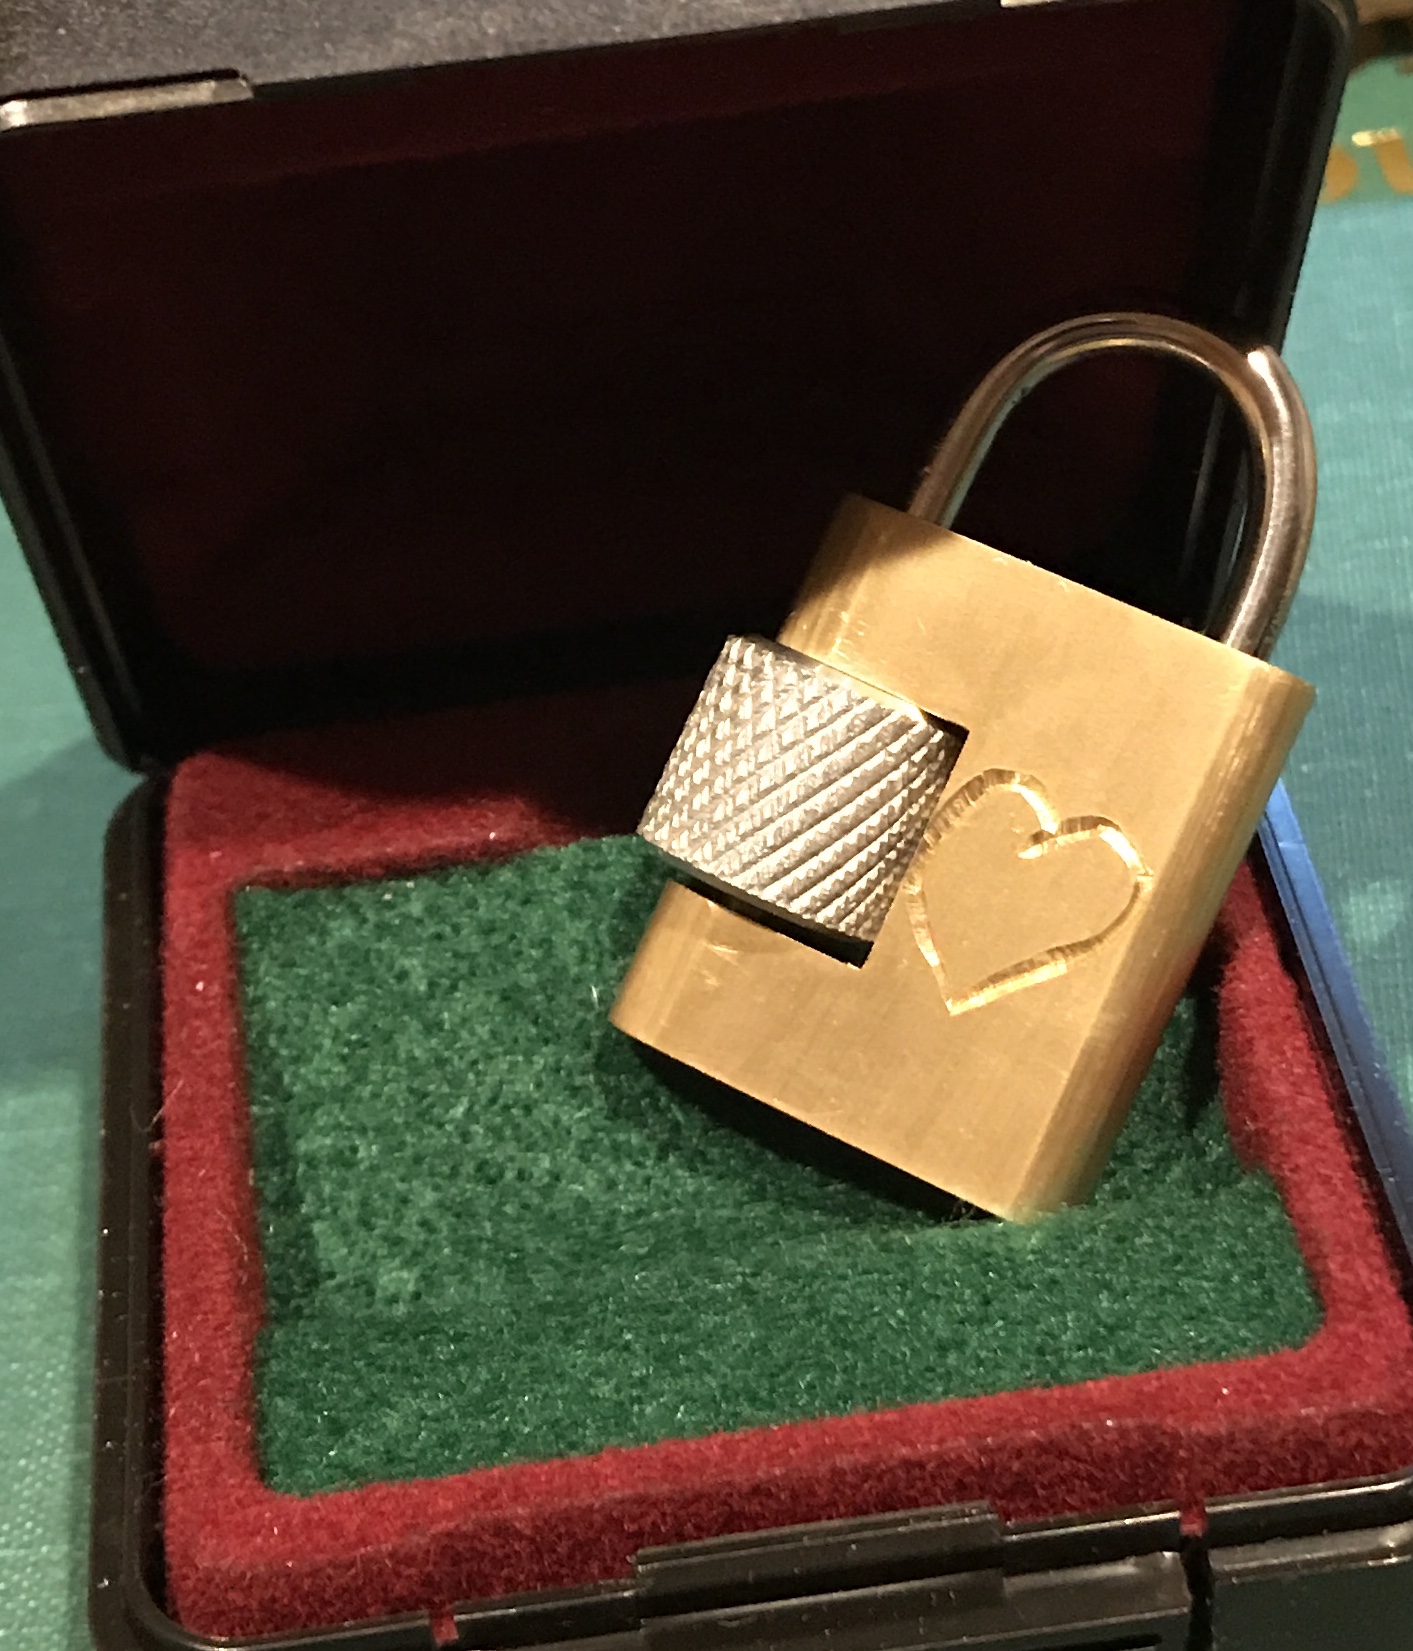
"Love" was engraved on one side and a heart on the other. This was done after using acetone to remove the varnish. The china white did not work on varnish. The lock body was cleaned with isopropanol. It was revarnished. I found a box that might be suitable for wrapping the gift. I added some green felt to the inside and put a coat of off white paint on the top to hide a logo. This was followed with a minimal decoration in red. Realized that the "Love" and the heart were engraved upside down! Remade the part this morning, sanded it, engraved it, and varnished it, all by 1:30.